|
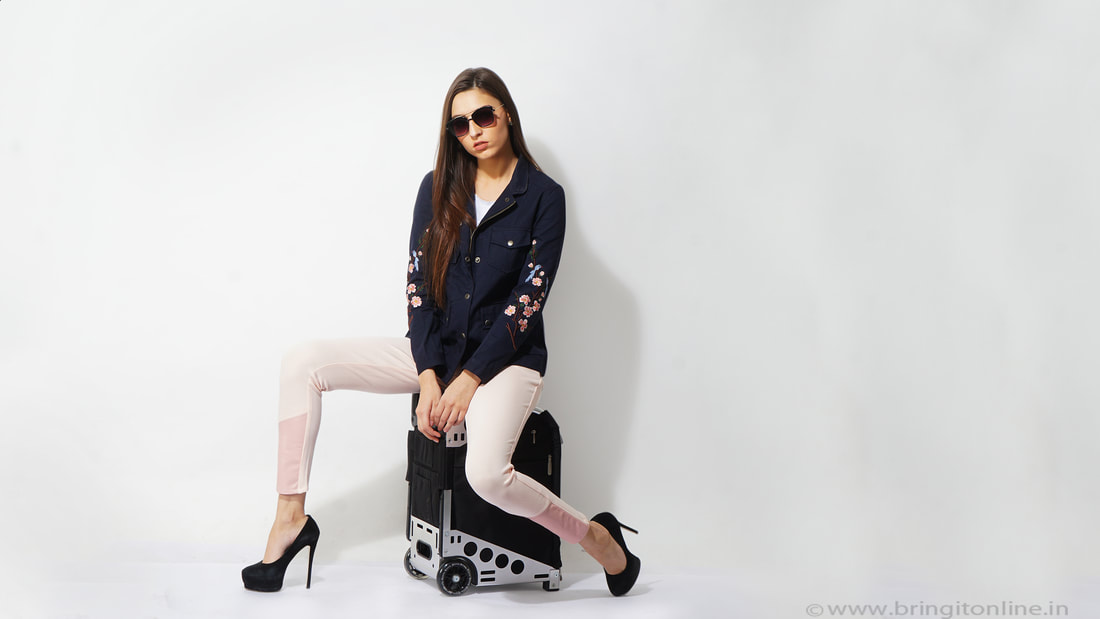
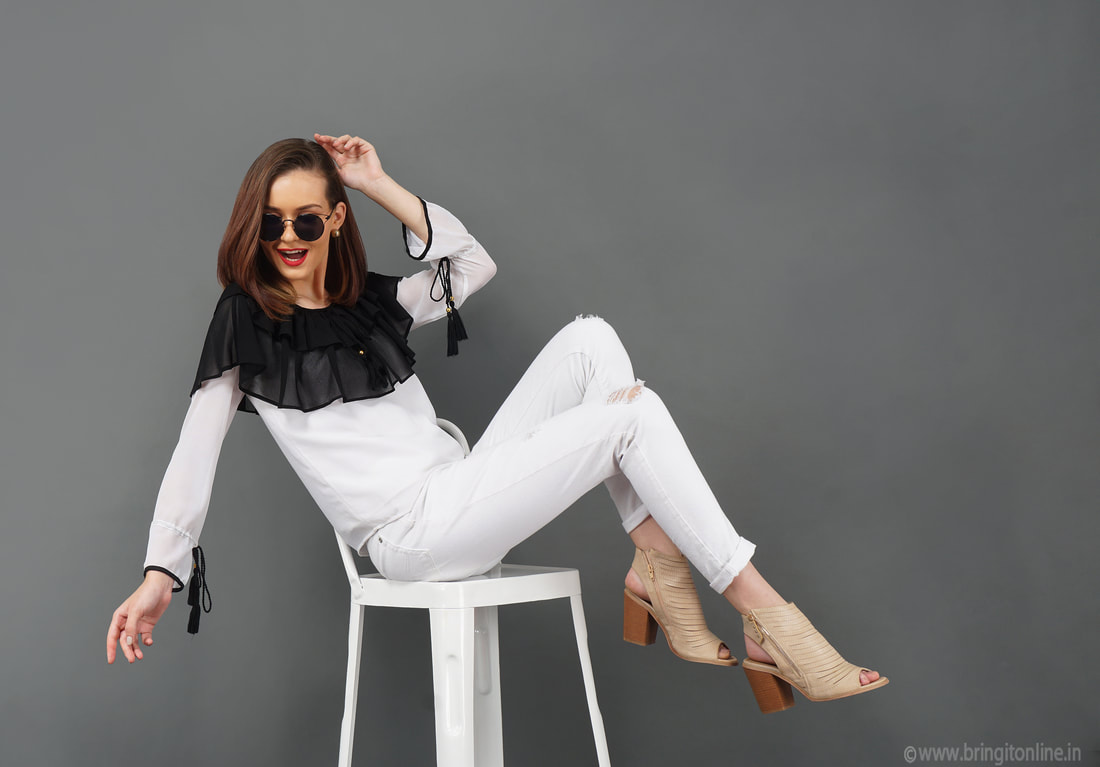
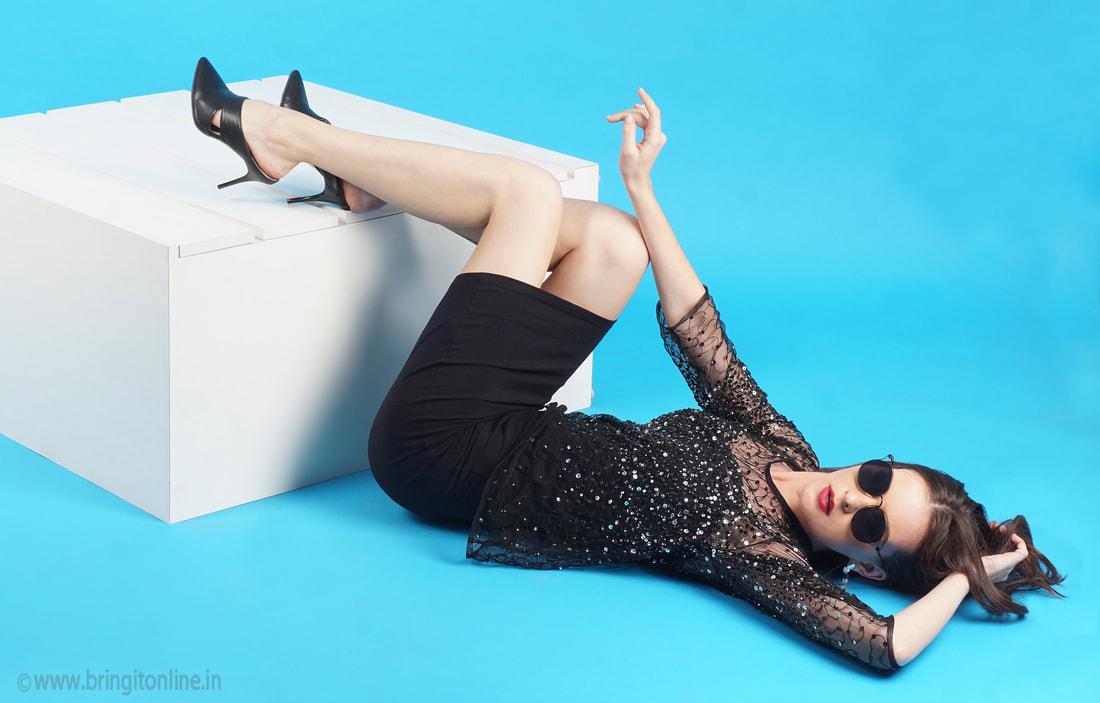
To represent apparel online, two things play an important role, photography and the model. These two attributes combined together can give an exact impact of the clothing style and the occasion for which it suits the best. The live models play most of the part in any type of campaign photoshoot. They help to take forward the design of the outfits to the target audience. When shopping online, models help the users to envision how the cloth will actually look like when worn. Moreover, it also gives an idea of whether the outfit will suit their persona or not. In this blog, we bring to you some quick photography hacks to get the best professional looks from the model shoots.
Step 1: Pick a model
While selecting a model of a clothing brand, one should always consider the following points. First, the comfort zone matters in every aspect. The fashion photographer and the model must share a kind of repo that will help to take forward the work smoothly. Check on the timings with the model, apparel photography requires multiple shots. Hence the model should lock particular hours for the shoot. For fashion photographers in Delhi there are a huge number of modeling agencies which can be contacted to book models. One of the most important guidance, everyone must follow is how the selected apparel will look on the model. Models give the final result to the clothing; therefore it is very important that cloth suits them to give an authentic appearance. Don’t hesitate to choose a different model, if the particular outfit doesn’t go well with your selected individual. Always do a small rehearsal on different models before finalizing it, because the look on the model matters the most in conveying the message. Also, for different size you do not require separate models, you can just demonstrate one product size online. The photographer should always try to emphasize on creating a consistent look, this can be achieved by using the same model for different products. In addition, working with the same model for a certain period of time builds understanding. They not only understand your creativeness but also start to work with your vision.
Step 2: Set up your space
Space, where you will be carrying out the final task, should be spacious and comfortable. The room should be a free space, with not much restrictions, and furniture around, except the ones required in the shoot. The model must have enough space to pose and to follow your instruction to capture the shot. Also, make sure to not have a big area until and unless it requires for the frame. The small space can be best to keep your camera focused and to make adjust frame with the model. The space should be sufficient enough to arrange the equipment and to achieve the desired shot. Some of the common equipment required in the area includes a white backdrop, a tripod to settle your camera, speedlight and umbrella ensembles. A white backdrop is considered to enhance the appearance of the subject. Always try to be consistent, while shooting with any settings.
Step 3: The Right Light
While shooting, the right exposure to light must be your priority. It should not be too much or too less. The right light creates effective product images. For the standard setup while photo shoot, you must have 1-3 continuous softbox lights (with stands) or 1-3 external Speedlight and umbrellas (with stands). Photography lighting requires lot of understanding and skills to get an impeccable exposure. Your goal should be to demonstrate the softness of the natural light through the help of softboxes. You can also use speedlights for this purpose, but they often tend to give harsh and direct impact. So in this case, one can simply angle the speedlight to the side of the model, this will make the walls bounce the light. Always try to experiment if you have time for it before the shoot. This same phenomenon is followed in product photography as well. Various product photographers in Delhi and other places in India have read our previous blogs and have appreciated them, so if you are new to our site, go check them out.
Step 4: Position your model
After you are done with all the technical aspects of the photo shoot, position your model at the respective place. Explain the scenario to the model, on how the shoot will go about, for smooth sailing. To have a perfect placing, keep a mark or something while doing the setup. This will avoid the confusion when your model has actually arrived on the set. Step 5: Shoot with a wide frame Wide frames provide an opportunity capture for different ranges like web, mobile application etc. this set of the frame also helps to crop the image for different platforms systematically without pixelating much. Therefore it is always recommended to shoot product photos in the wide frame. Leaving equal space across the subject in the frame can do this. It will also help to crop the images for web requirement. Also, keep the model's arms and legs in the frame. As a beginner, one also consider cropping models face to save time and money. It also requires less editing efforts.
Step 6: Direct your Model
You are the guide to the model, she/he can just pose, the skill they are master of. But, how they appear and act is all in your hand. You have to envision the picture before going down the shoots. Give your instructions to the model. The kind of attitude, drama, elegance you want from the model to portray. Direct them to look at a particular direction, ease it out by actually demonstrating it to them sometimes for clear vision. Try to capture a simple pose for the product shoot to give an authentic look and not to fancy one. Moreover, take multiple frames and poses in different angles so that you can later sort out the best ones and can have variety within it. One of our blogs on “how to become a model” is quite helpful for those who are new to this industry. Step 7: Post production Post-production rules are must to be followed, this also ensures the complete workflow of the project in the right direction. This phase is where you are actually analyzing your work, on how you have to go about the edits, which images have to be selected and much more. In this step, you can hire professional image editors to complete the task, but supervise them. Inform them about the specification, the details they have to retain when editing. What to crop and what not to. The main focus during the edits should be on the following aspects, lighting adjustment, skin touch-ups, Wrinkle removal, Product straightening, Cropping and resizing. Practical experience adds up to everything. So, follow these seven steps guide, to kick start your live model shoot.
Bring It Online Media Pvt. Ltd. : www.bringitonline.in
Email: letstalk@bringitonline.in https://www.instagram.com/bringitonline/ +91 9599693769 Comments are closed.
|
BRING IT ONLINE MEDIA PVT LTD
- Home
-
PHOTOGRAPHY SERVICES
- Product Photography
- Fashion Photography
- Fashion Campaign Photoshoot
- Fashion Editorial Shoot
- Male Model Photography
- Kids Clothing Photography
- Lingerie Photoshoot
- Jewellery Photography
- 360 Degree Photography
- Ghost Mannequin Photography
- Bags Photography
- Corporate Headshots
- Product Video Maker
- Footwear Photography
- Rent A Studio
- Hire Models
- Contact
- E-Commerce Video Production Company


